
The Ultimate Guide for Real Estate Photography Using Your Phone; Tip & Tricks

Ever wondered how some real estate listings look so stunning even though they were shot with a phone? The secret lies in understanding a few key principles and techniques that can transform your mobile photos from ordinary to extraordinary. In this guide, we’ll explore the ins and outs of real estate photography using your phone. Whether you’re a real estate agent looking to improve your listings or a homeowner wanting to showcase your property, we’ve got you covered.
By mastering a few tips and tricks for real estate photography using your phone, you can significantly enhance the appeal of your property listings. This guide will provide you with everything you need to know, from setting up your phone to editing your photos for the best results.
Ready to elevate your real estate photography game? Let’s dive in!
Table of Content:
Before Starting: Make a Shot Plan

Are your real estate photos not turning out as expected? The problem might be a lack of preparation. Diving into a photoshoot without a plan can result in missed opportunities and inconsistent images. The solution? Create a detailed shot plan before you start. This plan will ensure you capture all the essential shots and make the best use of your time and lighting conditions. Here’s how to get started with planning your key shots and timings.
Key Shots
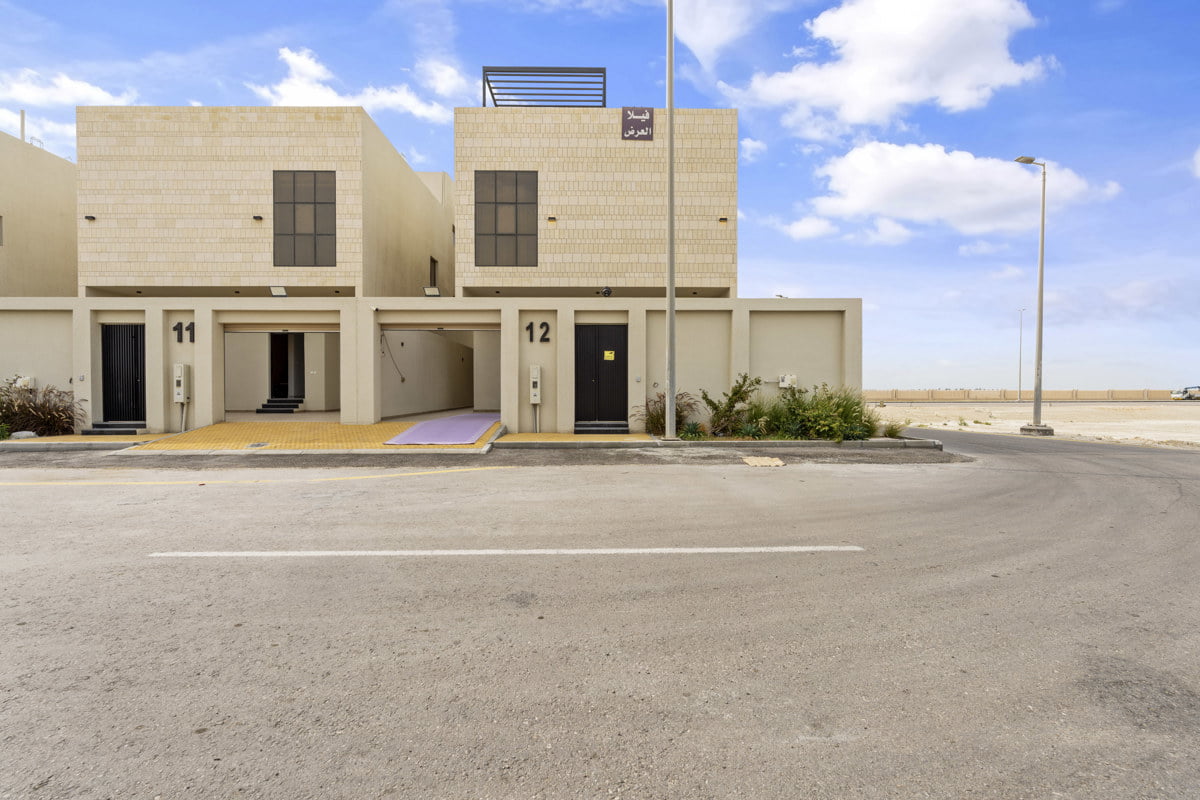
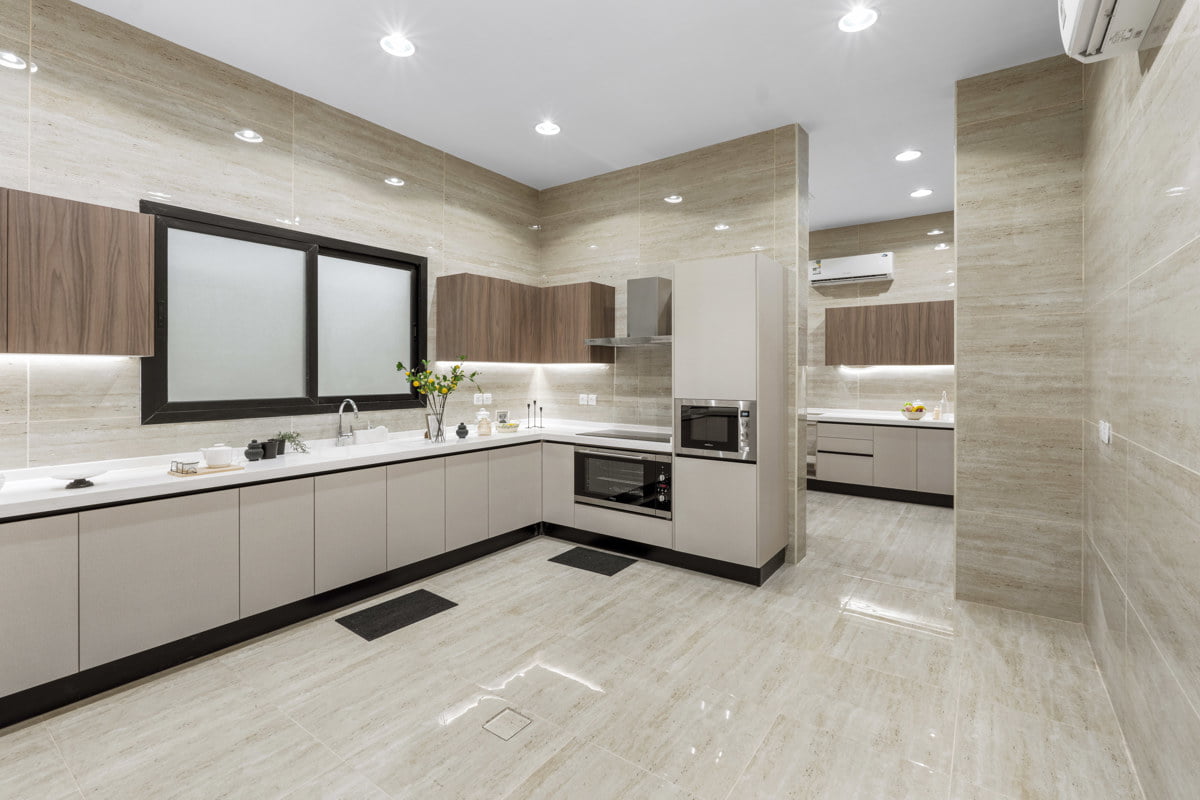
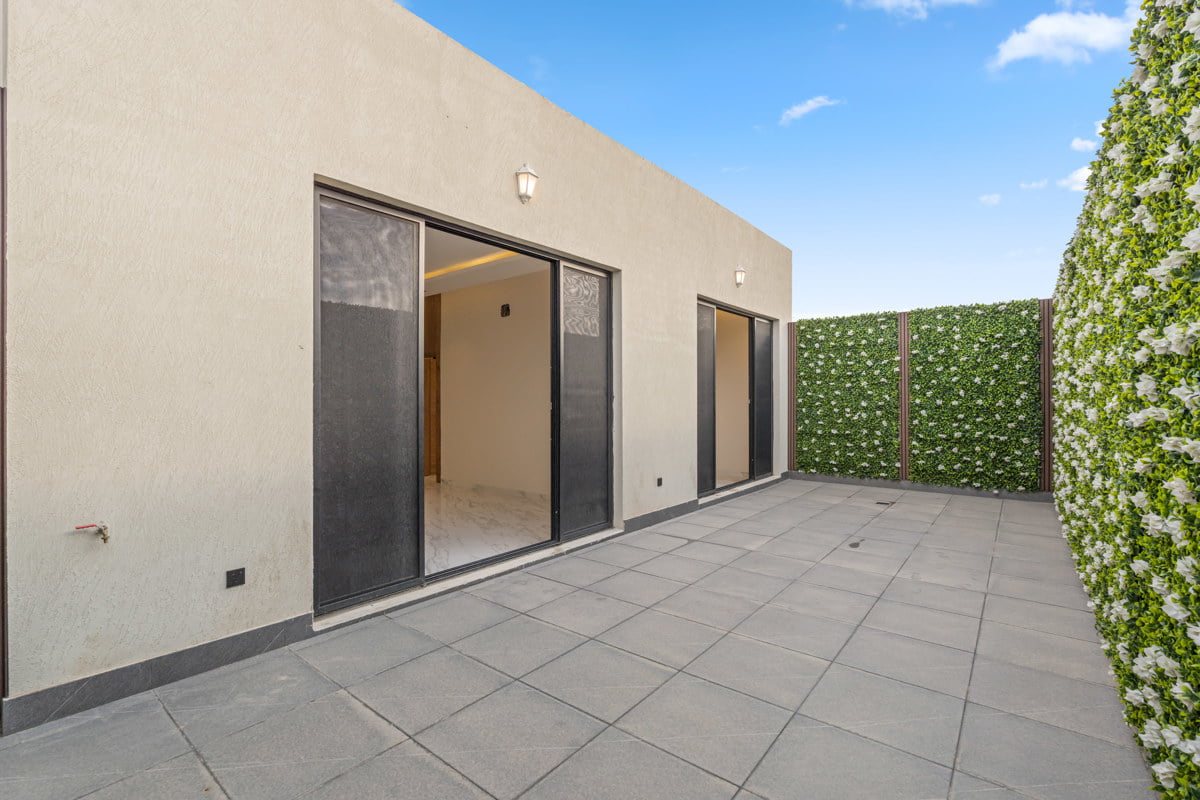
Wondering which shots are essential for your real estate listings? Key shots are the cornerstone of any effective real estate photography session. Start with wide-angle shots of each room to give potential buyers a sense of space and layout. Focus on main areas like the living room, kitchen, and master bedroom, ensuring you capture their most appealing features. Don’t forget exterior shots, including the front and back of the property, as well as any unique outdoor features like gardens or pools. Detail shots of attractive elements such as modern appliances, stylish fixtures, and unique architectural details can also add value. By identifying and prioritizing these key shots, you’ll create a comprehensive and enticing visual representation of the property.
Key Timings
Timing is everything in real estate photography. The right timing can dramatically enhance the quality of your photos. Aim to shoot during the golden hours—shortly after sunrise or before sunset—when the light is soft and warm. This natural light minimizes harsh shadows and brings out the best in your property. For interiors, mid-morning to early afternoon is ideal, as this is when natural light is abundant but not overpowering. Additionally, consider the orientation of the property; plan exterior shots when the sun illuminates the front of the house for the best results. By carefully planning your shoot around these key timings, you ensure your photos are bright, inviting, and professional, making your listings more attractive to potential buyers.
Choosing the Right Phone for Real Estate Photography
Your phone’s camera quality can make a significant difference in your photos. Look for phones with high-resolution cameras, good low-light performance, and advanced features like HDR (High Dynamic Range) and manual settings. Popular options include the latest models from Apple, Samsung, and Google.
Essential Accessories for Mobile Photography
To take your photos to the next level, consider investing in a few key accessories:
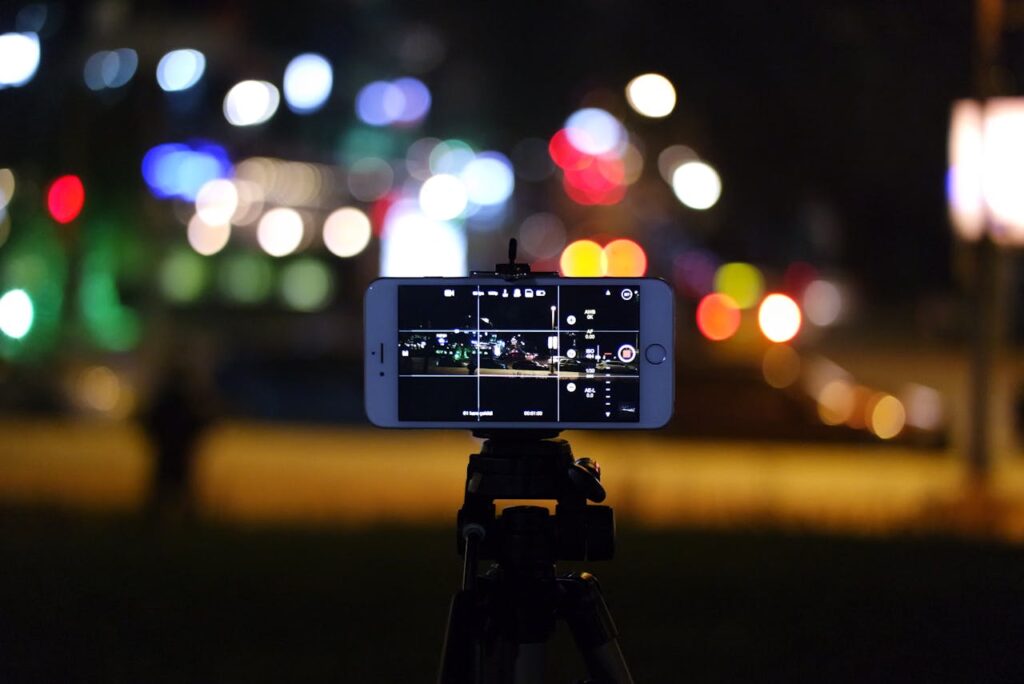
- Tripod: Stabilizes your shots, reducing blur.
- Wide-Angle Lens: Captures more of the room in a single shot.
- External Lighting: Helps in low-light conditions to brighten up the scene.
- Gimbal: Keeps your phone steady for smooth, professional-looking videos.
Always make your property shine in photos. Ensuring it’s clean and ready for photography is the first step. A well-prepared property not only looks more inviting but also attracts more potential buyers. Here’s how to get started:
Good lighting is essential for high-quality photos. Turn on all lights to brighten the space and highlight the property’s features. Proper lighting makes rooms appear more spacious and inviting, creating an appealing atmosphere that can significantly enhance the overall look of your photos.
Consistency in camera height is crucial for balanced shots. Keep the camera level to avoid distortions where the ceiling or floor looks disproportionately large. Maintaining a steady height ensures a natural and accurate representation of the space, making your property look its best in every shot.


Photography Techniques:
Capturing the perfect real estate photos can seem daunting, but with the right techniques, you can make any property shine. Two key elements to focus on are composition and lighting. Mastering these will elevate your photography, whether you’re using a professional camera or your smartphone.
Composition Tips
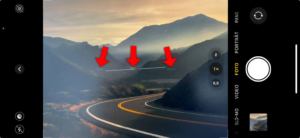
Struggling to frame your shots just right? Poor composition can make even the most beautiful properties look uninviting. The issue often lies in not knowing how to arrange elements within the frame effectively. But don’t worry, there are simple composition tips that can dramatically improve your photos. Start by using the rule of thirds: imagine your frame divided into nine equal parts by two horizontal and two vertical lines. Place key elements along these lines or at their intersections to create a balanced and engaging photo. Additionally, aim for straight lines and avoid tilting the camera, which can make spaces look distorted. By applying these tips, you’ll create visually appealing photos that draw viewers in and highlight your property’s best features.
Levelling Techniques
Ever taken a photo that looked slightly off-balance, making even a well-decorated room seem skewed? This common issue can detract from the overall appeal of your property photos. Uneven photos can make spaces appear distorted and less inviting, potentially turning away prospective buyers.
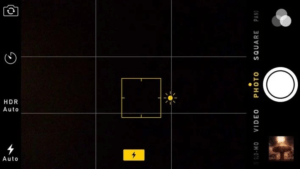
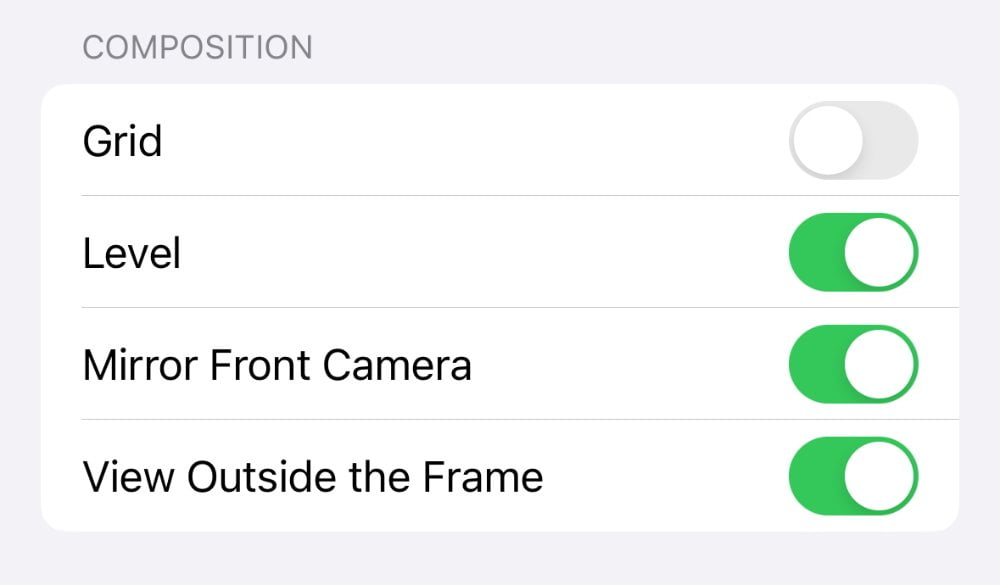
The solution to this problem is simple: learning effective levelling techniques. By ensuring your camera is perfectly level when taking photos, you can create a sense of stability and harmony in your images. Techniques such as using a tripod, employing your phone’s gridlines, or utilizing a bubble level can make a significant difference.
Use HDR Mode
HDR (High Dynamic Range) mode is a powerful feature available on most modern smartphones and cameras. It works by capturing multiple images at different exposure levels and then blending them together. This results in a photo that has balanced lighting, capturing both the dark and light areas with incredible detail.
The advantage of using HDR mode for real estate photos is clear: it produces images that are more true-to-life and visually appealing. Unlike standard photos that might have washed-out skies or shadowy corners, HDR images highlight the property’s best features, making every room look inviting and well-lit. This can be particularly beneficial for showcasing spaces with varying light levels, such as rooms with large windows or intricate interiors.

Edit Your Photos
Editing real estate photos directly on your phone is not only convenient but also incredibly powerful. Modern smartphones come equipped with advanced editing tools that can enhance your images, making them look professional and eye-catching.
By mastering photo editing on your phone, you can significantly boost the appeal of your real estate listings. Attractive, well-edited photos attract more prospective buyers, increasing the likelihood of a quick sale. Plus, you save time and money by avoiding the need for professional photographers or expensive editing software.
Choosing What Phone Models to Use:


Choosing the right phone for real estate photography can be a challenge. With so many models available, it’s easy to feel overwhelmed. The problem is that not all phones are created equal when it comes to capturing high-quality images. However, selecting the best phone can make a significant difference in showcasing your properties effectively.
Best iPhones for Photography
Looking for the ideal iPhone to elevate your real estate photos? With Apple’s reputation for excellent camera technology, several models stand out. The iPhone 15 Pro and iPhone 15 Pro Max are top choices, thanks to their advanced camera systems. These models feature triple-lens setups, including ultra-wide, wide, and telephoto lenses, allowing for versatile shooting options. They also offer Night mode and Deep Fusion technology for superior low-light performance and enhanced detail. The ProRAW feature gives you greater control over your images in post-processing. Additionally, the sensor-shift optical image stabilization ensures sharp photos, even in less-than-ideal conditions. Investing in these iPhones can significantly improve the quality of your real estate photography, making your listings more attractive to potential buyers.
Best Android Phones for Photography
Prefer Android over iPhone? There are several Android phones that excel in real estate photography. The Samsung Galaxy S24 Ultra is a standout, boasting a quad-camera setup with a 108MP main sensor, periscope telephoto lens, and ultra-wide lens. Its advanced zoom capabilities and excellent low-light performance make it perfect for capturing detailed property photos. Another great option is the Google Pixel 8 Pro, known for its exceptional computational photography. The Pixel 8 Pro’s AI-driven features, like HDR+ and Night Sight, ensure stunning photos in any lighting condition. Additionally, the OnePlus 12 Pro offers a versatile camera system co-developed with Hasselblad, delivering true-to-life colours and impressive dynamic range. Choosing one of these Android phones will enhance your ability to take professional-quality real estate photos, making your properties stand out in the market.
Editing Real Estate Photos on Your Phone
Photographing and editing real estate photos on your phone is a game-changer for anyone looking to enhance their property listings without breaking the bank. The convenience and power of smartphone editing tools enable you to produce stunning, professional-quality images with ease. By leveraging these tips and tricks, you can create captivating photos that highlight the best features of your properties, attracting more prospective buyers and expediting the sales process.
Remember, the key to great real estate photography lies in attention to detail and a willingness to experiment with different editing techniques. With practice and persistence, you’ll soon be able to transform ordinary snapshots into extraordinary visuals that stand out in the competitive real estate market.
So grab your phone, start editing, and watch as your enhanced photos help you achieve faster, more successful real estate transactions.
Essential Editing Tools and Apps
- Brightness and Contrast: Adjust to make your photos more vibrant and clear.
- White Balance: Corrects color tones to make the photo look natural.
- Crop and Straighten: Removes unnecessary elements and aligns the photo properly.
Step-by-Step Editing Process
- Import Your Photo: Open your editing app and import the photo.
- Adjust Exposure: Increase brightness and contrast to enhance the photo.
- Correct Colors: Use white balance tools to adjust the color tones.
- Sharpen: Enhance details to make the photo look crisp.
- Crop and Straighten: Finalize the composition and alignment.
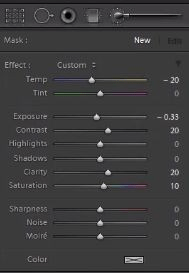
Advanced Editing Techniques
- HDR Effects: Combine multiple exposures to capture a wider range of light and dark areas.
- Perspective Correction: Fix any distortions to make lines and edges look straight.
- Selective Adjustments: Edit specific parts of the photo for a more balanced look.
Troubleshooting Common Issues
Fixing Blurry Images
Blurry photos can be fixed by:
- Using a tripod or stabilizer.
- Ensuring good lighting to avoid long exposure times.
- Using the focus lock feature on your phone camera.
Correcting Lighting Problems
- Underexposed Photos: Increase brightness and shadows in your editing app.
- Overexposed Photos: Lower highlights and adjust exposure to recover details.
Conclusion
By now, you should have a good grasp of how to take stunning real estate photos using your phone. Remember the importance of good lighting, thoughtful composition, and effective editing.
And don’t be afraid to experiment with different techniques and tools. Practice makes perfect, and every shot is an opportunity to learn and improve.
Additional Resources
Recommended Apps and Tools
- Adobe Lightroom: For comprehensive photo editing.
- Snapseed: For quick and easy adjustments.
- VSCO: For creative filters and effects.
And in Case you Need A Cheap, Reliable and Professional Help, WE ARE ALWAYS AT YOUR SERVICE
Amazing work